How to Launch Your Website in 1 Hour with Canva — Even If You’re Not a Designer
Launching a website can feel overwhelming if you’re not a designer or tech expert. What if you could create a professional-looking site in just one hour? In this post, I’ll show you how to do it.
Step 1: Set Up Your Canva Account
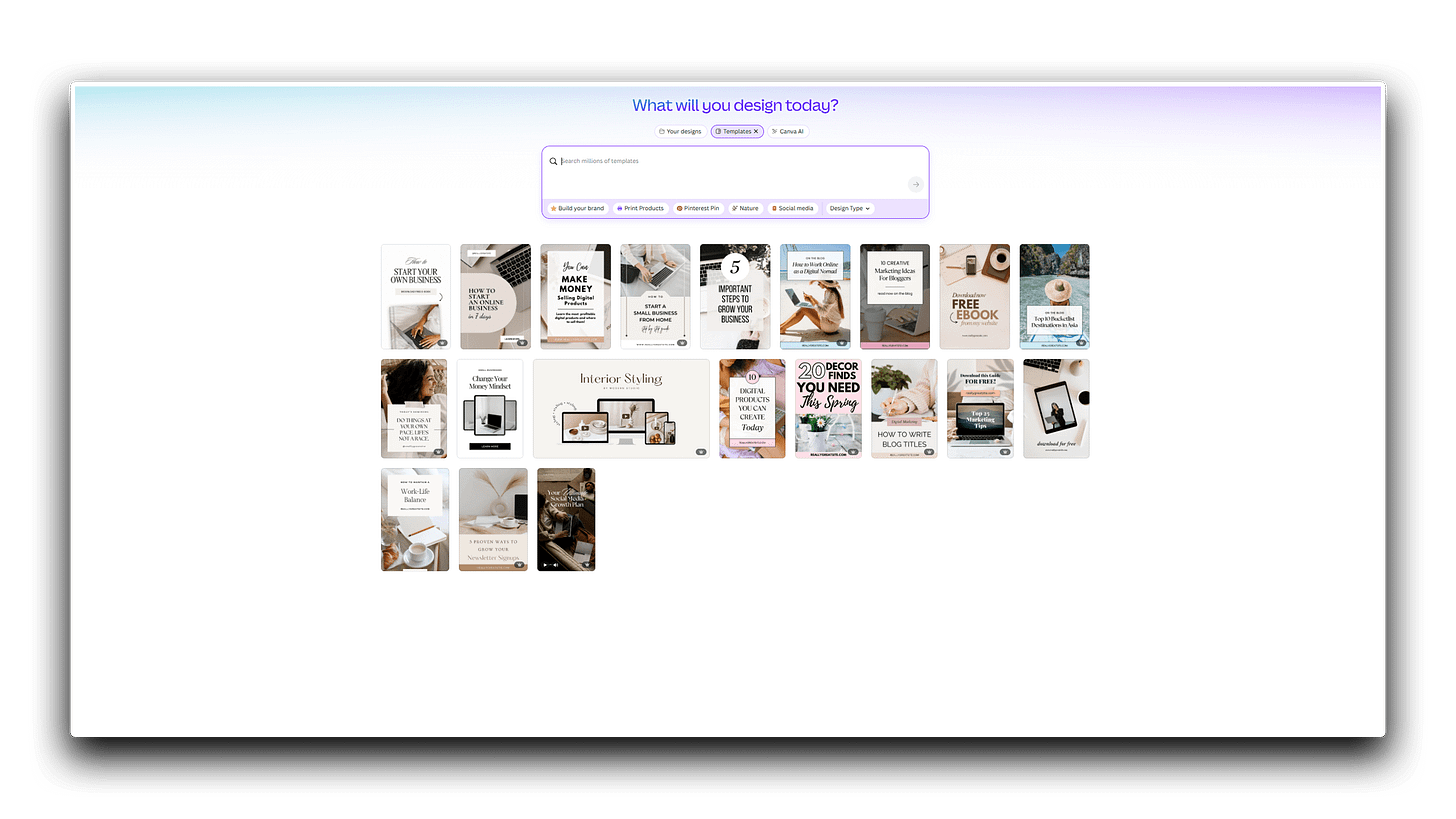
To build a website quickly, use tools like Canva that simplify the process. Most people already know Canva or have an account. If you don’t, visit the Canva website and create one, it only takes a few minutes.
If you don’t have one, consider getting Canva Pro. It’s not required but is an excellent investment (explained later).
I’m not affiliated or trying to sell you anything. I simply use Canva a lot, and it was one of my best investments.
Step 2: Hosting Platform + Domain (Optional)
I’ll share the platform I chose, but you can use any you prefer. I chose Fourthwall. It’s built for content creators to simplify selling, letting them focus on creating and driving traffic.
It also has become so popular that it now attracts regular people who simply want to sell their products online without needing a large audience or a YouTube channel.
Fourthwall simplifies everything: taxes, account setup, design, and having a beautiful website ready in just an hour. Also, Fourthwall is completely free. You only pay small fees when you sell a product—no shop creator costs, subscriptions, or listing fees. Even though those fees aren’t huge, you can read more about them here to get an idea. Plus, their customer service is awesome.
There are, of course, other platforms like Gumroad and Payhip. While I’m not very familiar with them, I’ve heard they’re great too. At the end of the day, the platform doesn’t matter, what matters is to start.
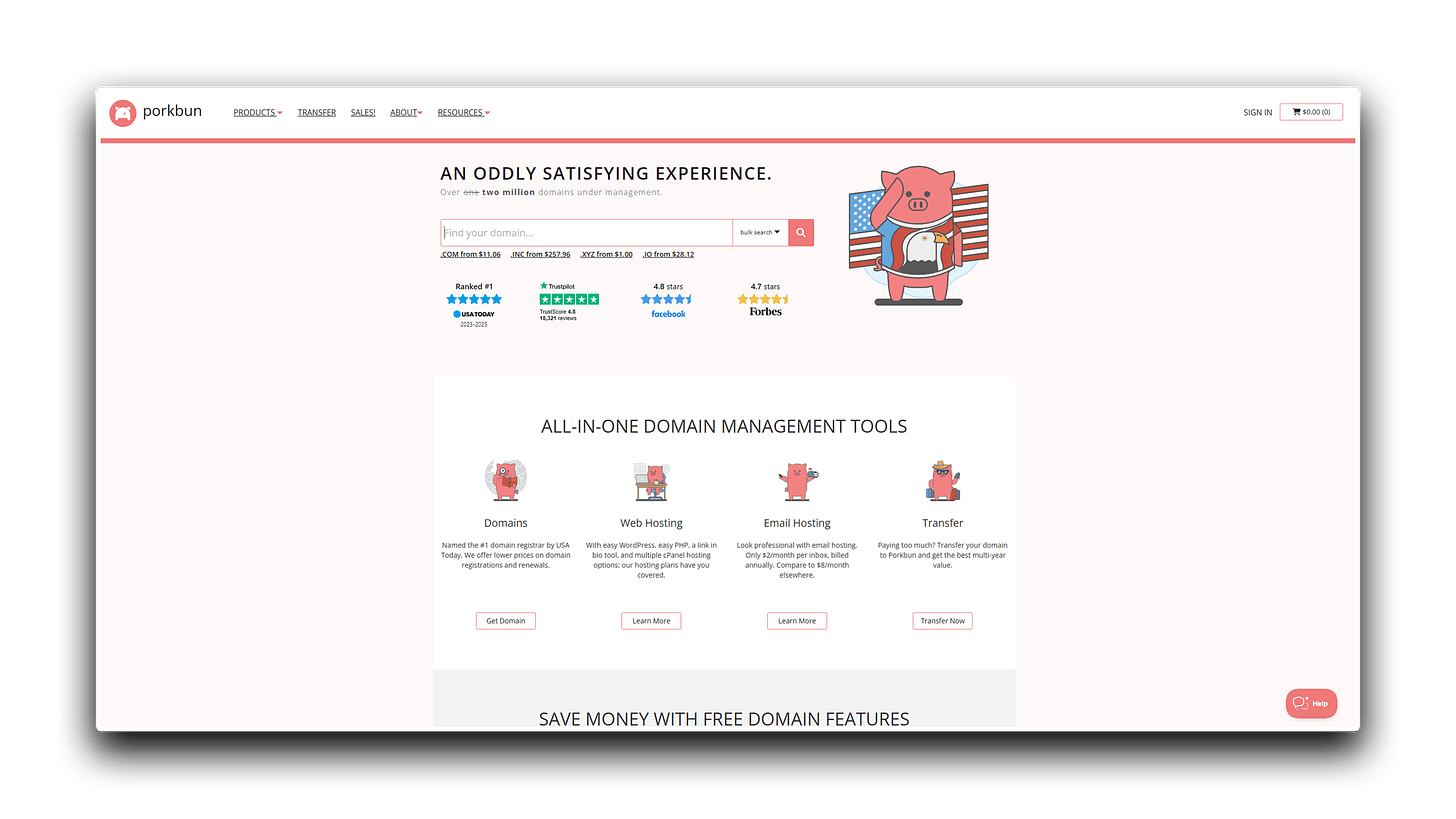
A domain, although not a requirement (at least on Fourthwall), can be purchased from Porkbun. That’s where I got mine too.
Step 3: Add Key Pages or Sections
Since this post is tailored to help you get started in one hour, you shouldn’t create too many website pages. Having a service or product page and an about page, so customers know why they should trust you and choose your offerings, is enough. Must-have pages like Terms and Conditions, Disclaimers, Privacy Policy, and Returns are already provided for you by Fourthwall, saving you even more time, although it’s still a good practice to adjust them to your specific business.
Step 4: Write some SEO
I know, I know — just one hour, right? However, I’m not going to let you launch a site without SEO! You can have hundreds of pages, but if they aren’t optimized for search engines, it doesn’t matter — customers won’t find you unless you bring them to your site yourself.
What SEO Means & How to Choose Keywords
SEO stands for Search Engine Optimization, which basically means using the right keywords people type into search engines like Google to find what you’re selling. I won’t dive too deep here to avoid overwhelming you, but here are some key points:
You need to find specific keywords related to your product or service. Just type some keywords into the Google search bar, and the suggestions that pop up reveal what people are searching for.
Check how people actually type these keywords (it can differ from how you describe your product). Use those exact keyword combinations in your titles, tags, descriptions, image file names, and more.
Very important: Check the search results for those keywords.
If you want to rank on that page, look for newbie or smaller sites appearing in the results. You cannot beat big companies right away, but if you see a mix of big companies (there will usually still be a few), random Reddit posts, Pinterest pins, smaller sites, a "People Also Ask" section, or poor search results that do not answer the search intent which you could address, that keyword could be a good target.
Also, always go after long-tail keywords because they are less competitive and easier to rank for. For example, instead of targeting “digital products,” focus on “digital products for small business owners.”
Using Keywords on Your Website
I sometimes even explain to ChatGPT what I do and ask for keyword suggestions. Then, I go to Google and check if I can target that keyword based on the competition.
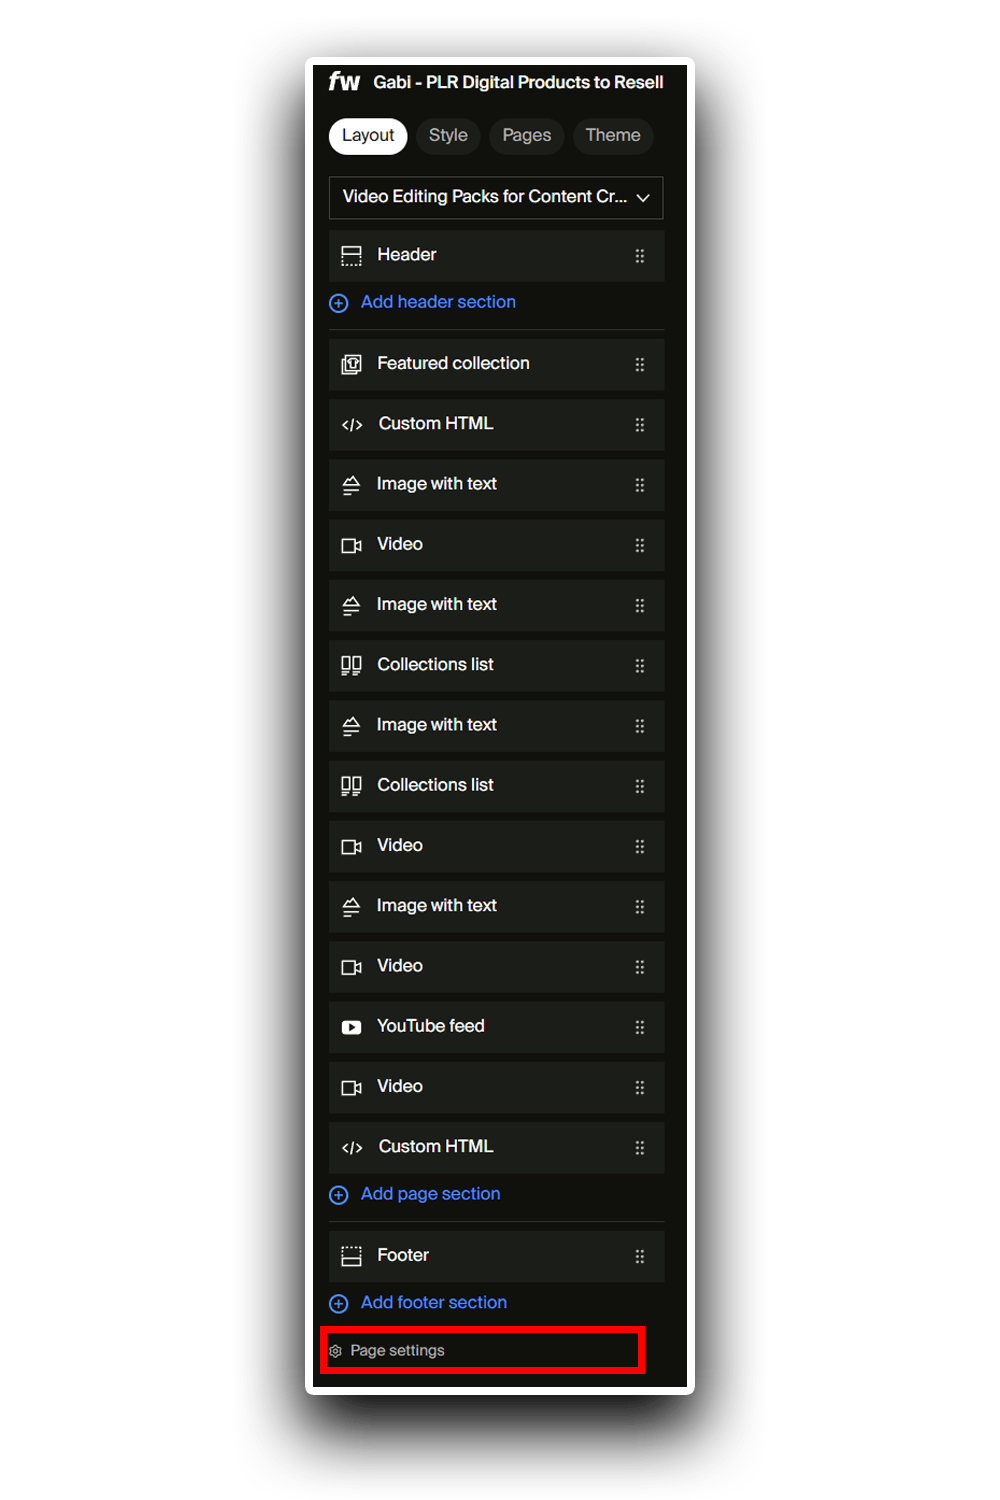
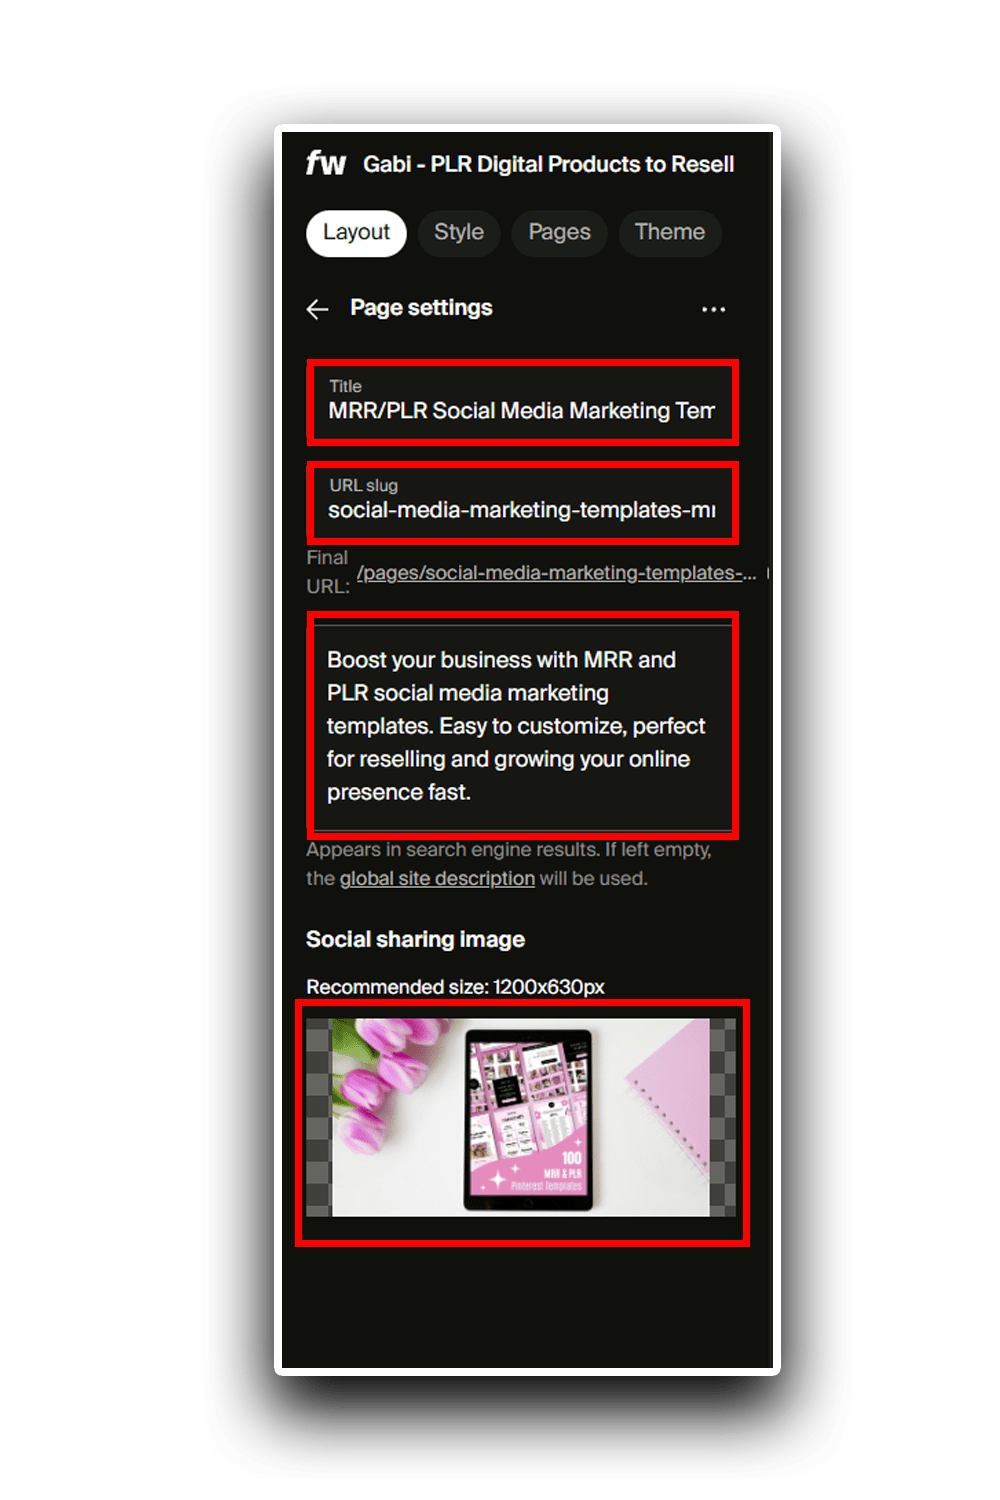
Once you have your keywords, use them in the H1 title and throughout the page (but don’t overdo it — 2–3 times is plenty). If you created a custom page on Fourthwall, go to that page’s settings and add a title, a meta description, and a URL slug.
I recommend using ChatGPT for this: give the AI your keywords, and it can create the URL slug, title, description, and even suggest a page image (which you can create with AI or Canva).
You may be asking, “Do I really have to do this from the start?” Well, you could ignore it, but it’s not a good practice.
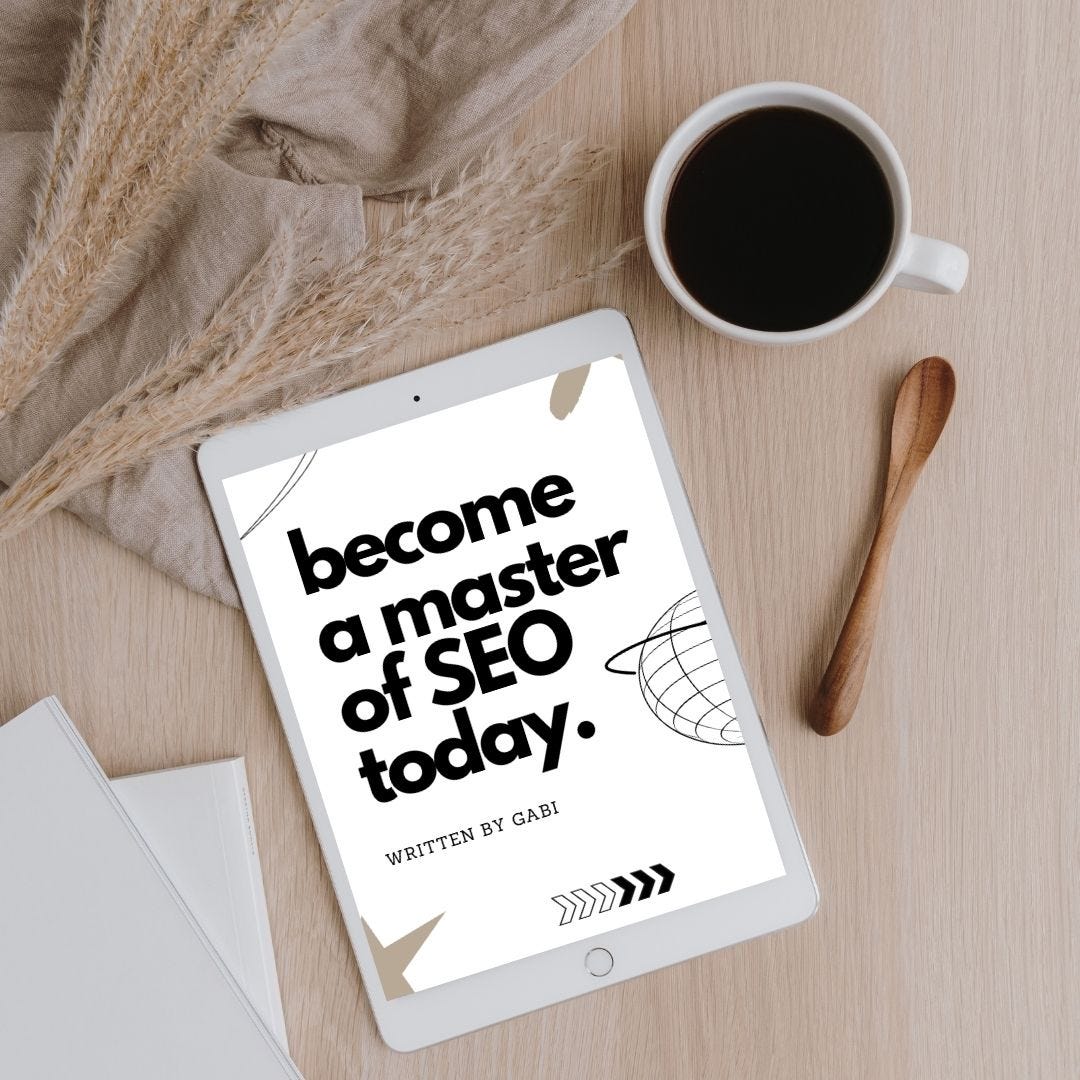
I’ll write more blog posts on SEO soon, but if you don’t want to wait, grab my SEO eBook. It covers Pinterest, YouTube, websites, and Etsy, but since SEO works the same way everywhere, everything I share in the eBook applies to all platforms.
Step 5: Don’t Have a Product? Start with Done-for-You Digital Products
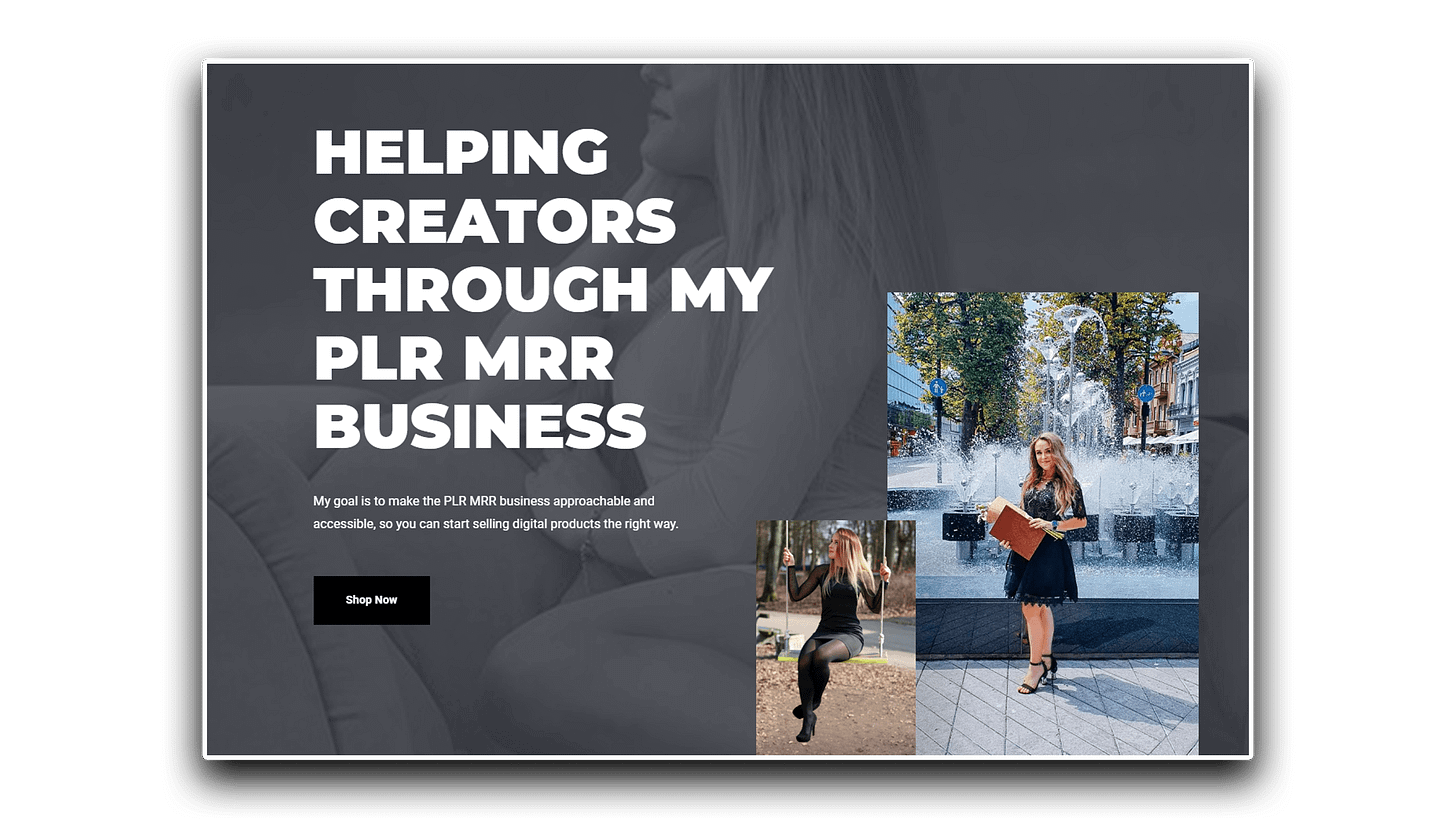
If you don’t have any products and you’re completely new, done-for-you digital products are probably exactly what you need. On my website www.gabidigitalproducts.com, I offer products with MRR (Master Resell Rights) and PLR (Private Label Rights), which means you can buy these products and resell them as your own.
Let’s be honest: creating both a product and a website in just one hour is pretty tough and maybe even impossible if you don’t have anything to sell. That’s why done-for-you digital products can be a lifesaver, because what really matters is getting started. You can always improve and refine things later.
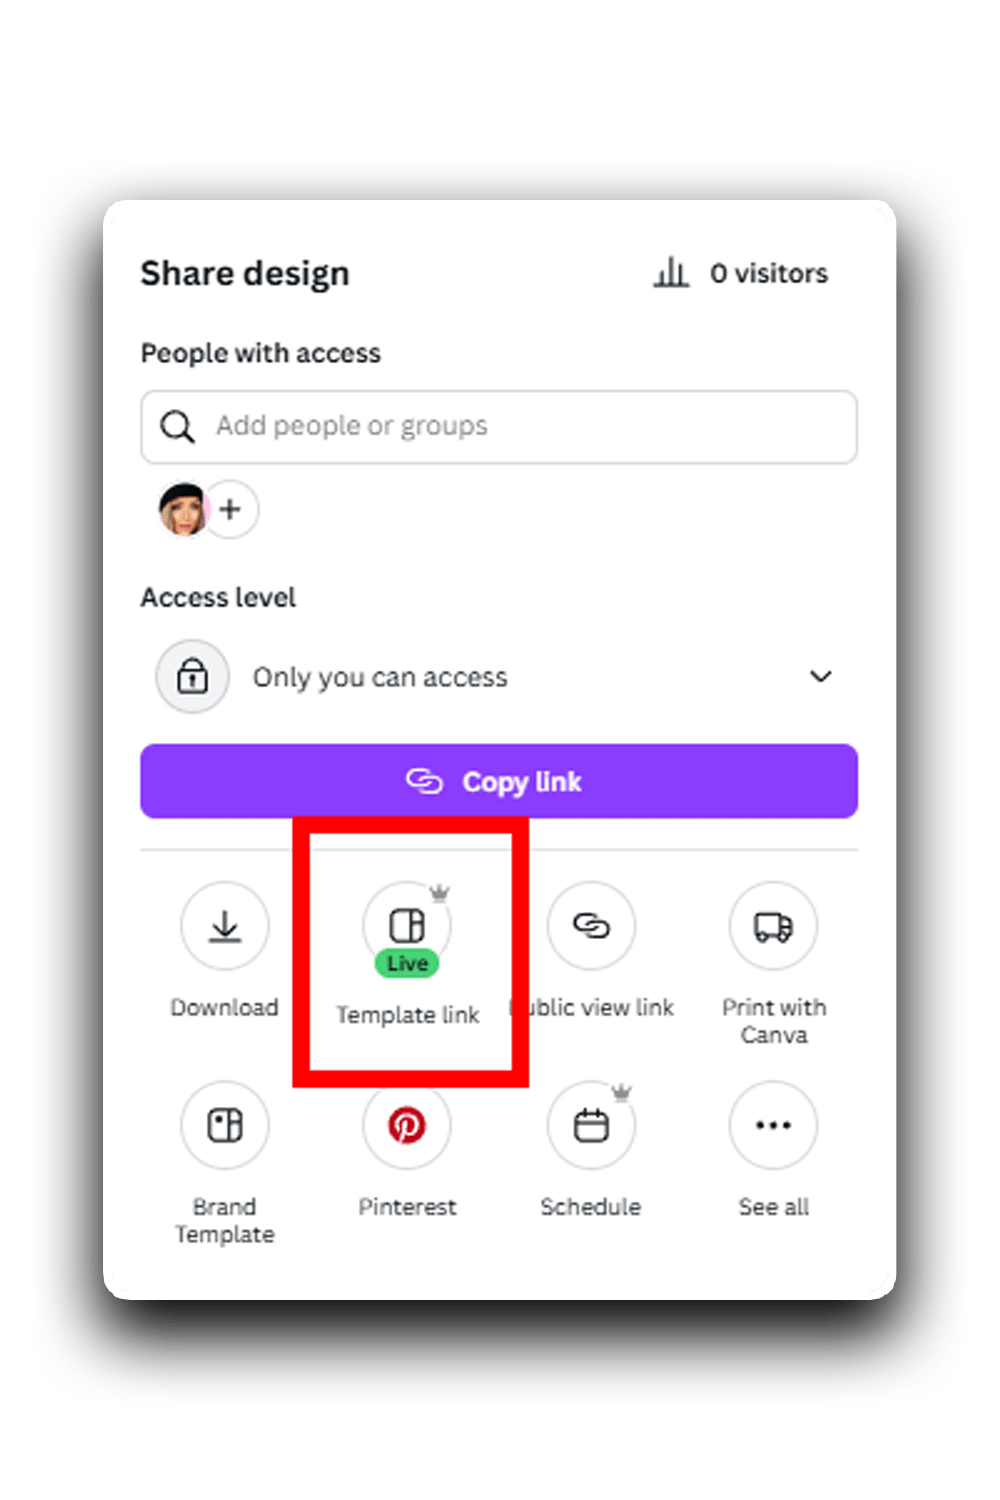
And remember what I said about the Canva subscription? If you’re planning to sell templates (like I do), you’ll need Canva Pro to create shareable template links.
Important note: The templates you see inside Canva’s library are not yours to resell. You don’t own the copyright to those designs. You can use them as a starting point for inspiration, but you’re not allowed to sell them as products.
That’s why purchasing MRR (Master Resell Rights) and PLR (Private Label Rights) digital products is beneficial, because the creator of those templates grants you a resell license. This ensures that you are safe and protected when using those designs.
Step 6: Promote on Pinterest
That’s it! Once your website is live, you’ve chosen a platform, added some keywords, and uploaded your first product, it’s time to promote it!
Promotion can be done anywhere, but I recommend using Pinterest because it’s relatively easy to create content on, and it’s evergreen, meaning your posts can rank for months or even years, unlike on other platforms where the lifespan of a post is around 24 hours. You can watch a short tutorial to understand how to promote products on Pinterest.
If you want to speed up the promotion process, using tools like Canva Pro or Pinterest templates can help. These resources make it easier to create clear, attractive visuals that catch attention.
Starting a website can feel overwhelming, but the best time to begin is now, even if it’s a little messy at first. The important part is to take the first step.
Disclaimer:
P.S. I am not affiliated with, nor do I work for, any of the companies mentioned. I haven’t used any affiliate links. Everything shared in this post is based on my personal experience and testing. I do not guarantee that the information is 100% accurate, as platforms and policies may change. Always do your own research and consult with professionals when needed, as this information is provided for educational and informational purposes only. For more details, please see my full disclaimer policy.


